
If we directly writing www.alexa.com on the browser page, the page is shown below:
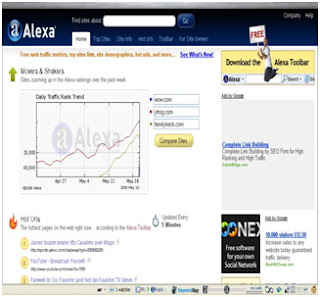
Perhaps you are confused, where registration and become a member of this site. Although our data directly fill the web address or our site here is not really a problem, even for a widget. But still we have not considered alexa as a member, so as to open the menu Contact Info, Related Links, Clickstream, Demographics and did not find data on what the data should include a web or blog us.
To condense the article because it will contain many pictures as illustration, we will start the steps.
1. Open your Browser Page
2. Type in the Home Page www.alexa.com/help or click here so that the page will appear as follows:
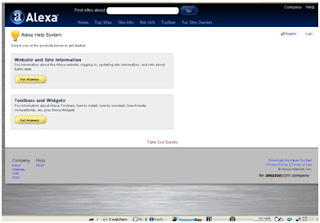
3. At the top right Corner there is a menu option 'Register' and 'Login'.
4. Select the 'Register' to start the registration data. So the page that appears is as follows:
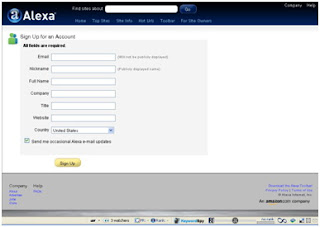
5. Fill your data correctly on each of the fields that are available, the menu and then select 'Sign Up'.
6. Close the page of your site and alexa page you open your email to continue the registration process.
7. If you already have the email reply from alexa, then open the email. Re-entry to the site alexa available via a link in an email. There will be back your registration confirmation and a password.
8. Registration complete.
Next is a start to update your website or blog to get the Traffic Rank, Site Overview and Widget. The steps as follows:
1. On the home page select the menu alexa 'For Site Owner' on the page such as:

2. Enter the web address or your blog in the fields. Next page appears:
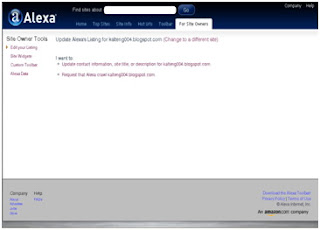
3. I Want to Select: Request That Crawl .. (Name of your blog or web) for the 'update'.
4. Update completed.
Next is the HTML code to find widgets that will be installed on the web or your blog. Step as follows:
1. Go to the menu in the 'Site widget', you will be entered on the following pages:
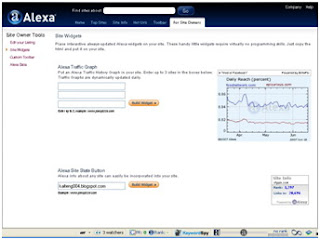
2. Enter the web address or your blog, to get a simple widget that you should choose the 'Alexa Site Stats Button' or 'Alexa Site Rank Button'.
3. Then select the menu 'Build Widgets', then the page will appear as follows:
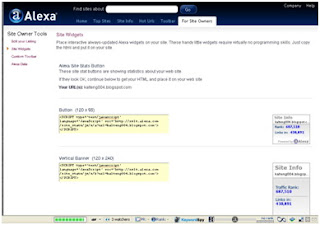
4. Right Mouse click on one of your columns that you want the HTML code, and then Select 'Select All' and copy the HTML code.
The last step is the part that is easy, as follows:
1. Login to the web or your blog
2. Select the Layout menu, then Page Element menu.
3. Select the 'Add Gadget' column on your sidebar.
4. Select the Gadget 'HTML JavaScript' and 'paste' the HTML code that you get from alexa earlier.
5. Select the 'Save and View your Blog or Web.
6. Done.
One thing that I need to remind, Alexa usually takes 1 or 2 days to confirm your registration data, but to update Traffic Rank usually takes 2 or 3 days, depending on the number of visitors on the website or blog you have.
For the master, suggestions and criticisms you please comment channeled through the city. Of course, suggestions and criticisms which I expected to build. Hopefully useful..
Related Post :
How to Setting Blog ?
Create Blog on Blogspot


0 comments:
Post a Comment